Why Rewax?
Rewaxing jackets is essential to restore their water-resistant and windproof properties. Over time, the original wax coating wears off due to exposure to rain, snow, and general use, reducing the jacket’s ability to repel moisture and protect against the elements. Rewaxing helps maintain the fabric’s durability, extends the life of the jacket, and preserves its rugged look and functionality, especially in harsh outdoor conditions.
For best results, re-wax your garment at least every two years under normal use
Hard use such as working in mud or having the garment in heavy rains often will require more frequent re-waxing. A good indicator that it may be time to re-wax your garment is the fabric being significantly lighter in color or when water fails to bead on the surface.

Why Wax your Gear With Filson Oil Finish Wax?
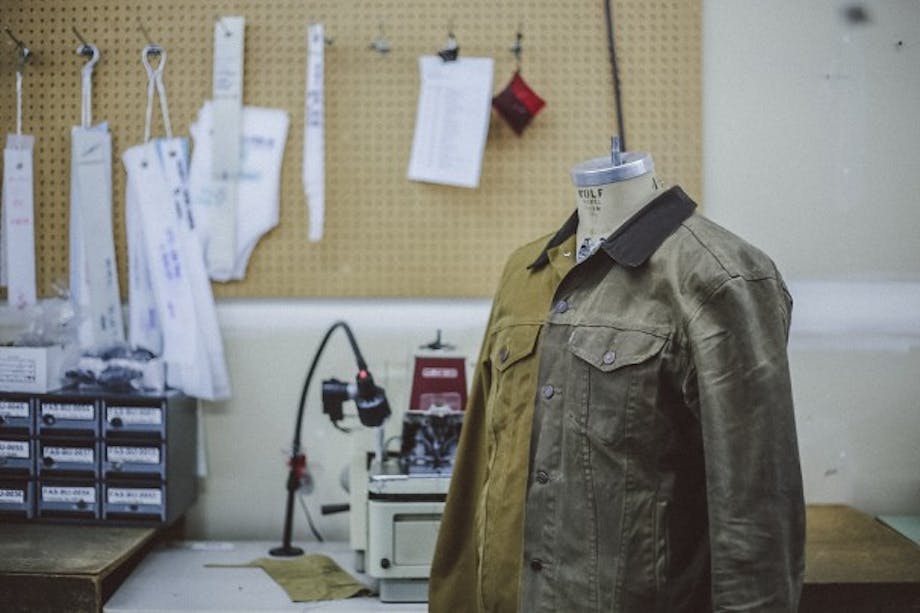
Our waxed cotton clothing and bags are built for years of rugged use in the great outdoors. When re-waxing is needed, use only Filson’s Original Oil Finish Wax. It has a proprietary blend of paraffin wax and softening oils that are an exact match for the original factory-applied waxed finish. Do not be tempted to use beeswax or other waxes, as they will not blend with the existing wax in the fabric, and do not create the surface tension required to maximize water resistance.

What you’ll need:
- Heat Gun or Hair Dryer
- Filson’s Original Oil Finish Wax
- Brush for dirt
- Gloves (optional)
- Paper towels or shop rags
- A blanket or towel

1. Lay clean garment on a flat surface
A shop table covered in a blanket or towel will give you room to work.
2. Clean all dirt and debris from garment.
Waxed cotton can be hosed off and allowed to dry at room temperature before re-waxing. If dirt is dry and caked onto the garment, a stiff nylon-bristled brush works well to remove the debris. Be sure to pay special attention to the seams as these areas can trap mud and dirt.
1 of 3
2 of 3
3 of 3
3. Working at room temperature, apply and even coat of wax to the fabric
One technique that works well is to cover the surface with dots of wax, then rub them in a circular pattern until they are all blended. Being intentional to spread the wax evenly at this stage will make the resulting finish much more uniform.
1 of 4
2 of 4
3 of 4
4 of 4
4. Use a heat gun (or hair dryer) to melt the wax into the fabric.
Keep the heat gun moving slowly, working over the entire surface. The wax will turn shiny as it liquefies, and will disappear as it soaks into the fabric. Another option if a heat gun or hair dryer is not available is to hang the garment in the sun and let it “bake” for several hours. This method may provide a more flexible finish due to less evaporation of wax’s oils.


5. Heavy-use areas, especially at the seams, can benefit from occasional touch-ups.
Under extremely heavy use, areas of the garment subject to abrasion and flexing can lose some of their finish, and therefore some of their water repellency.

6. If applied too heavily, wax will not absorb.
If this happens, continue to apply heat, take a paper towel or a shop rag and wipe off the liquefied wax. This will remove the excess and redistribute it into areas into which it can absorb, with no harm done to the garment.

Rewaxing Tips and Tricks
- Apply Filson wax at room temperature for even distribution.
- If a heat gun isn’t available, you can use an iron to melt the wax into the fabric after application.
- If neither a heat gun nor an iron is available, hang the item near (but not too close to) a wood stove, heater, or place it in direct hot sunlight.
- For a softer finish, apply heat gradually when melting the wax, as this prevents excessive oil evaporation and maintains the fabric’s pliability.